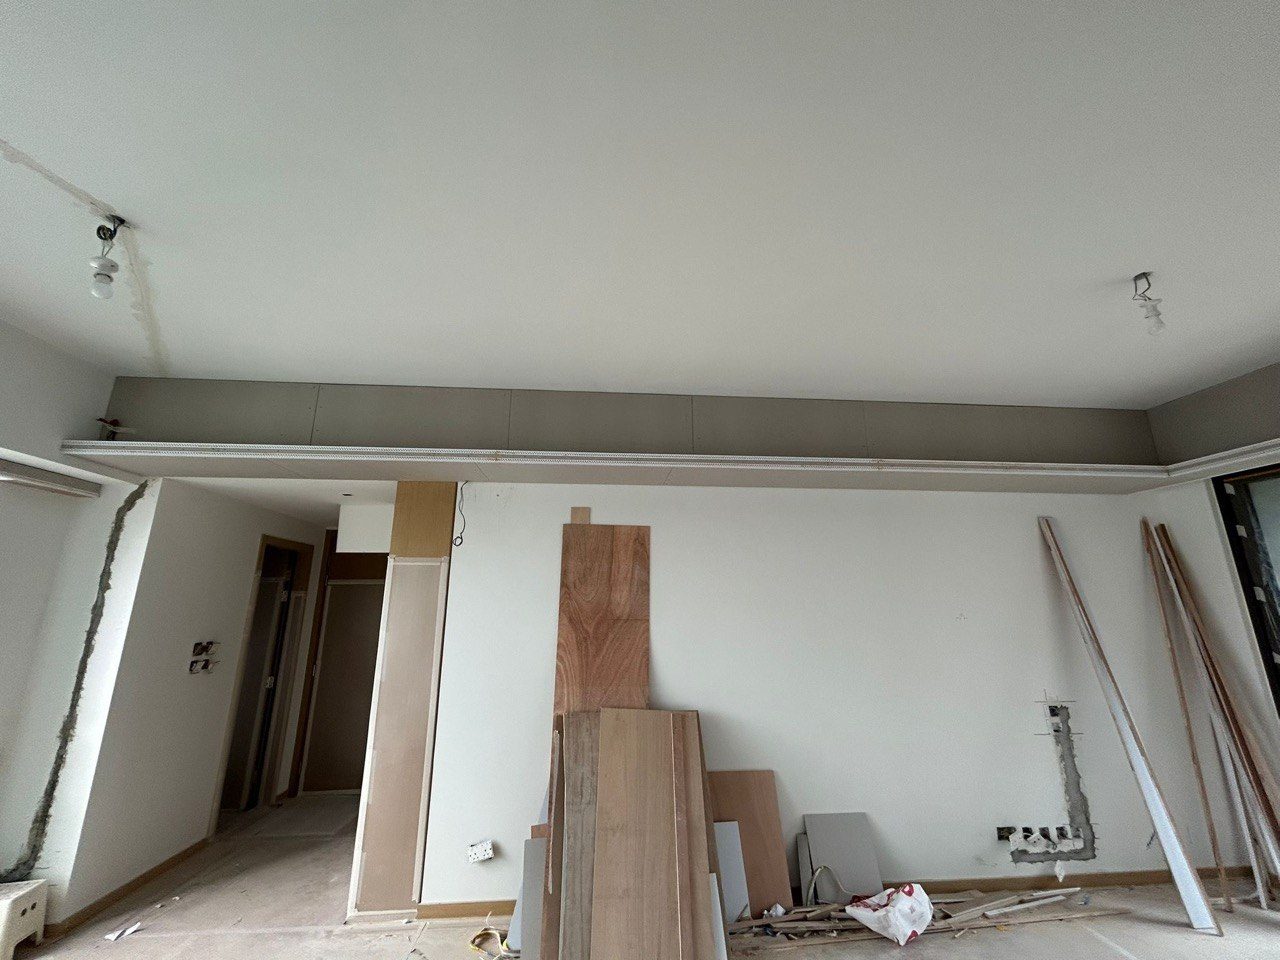
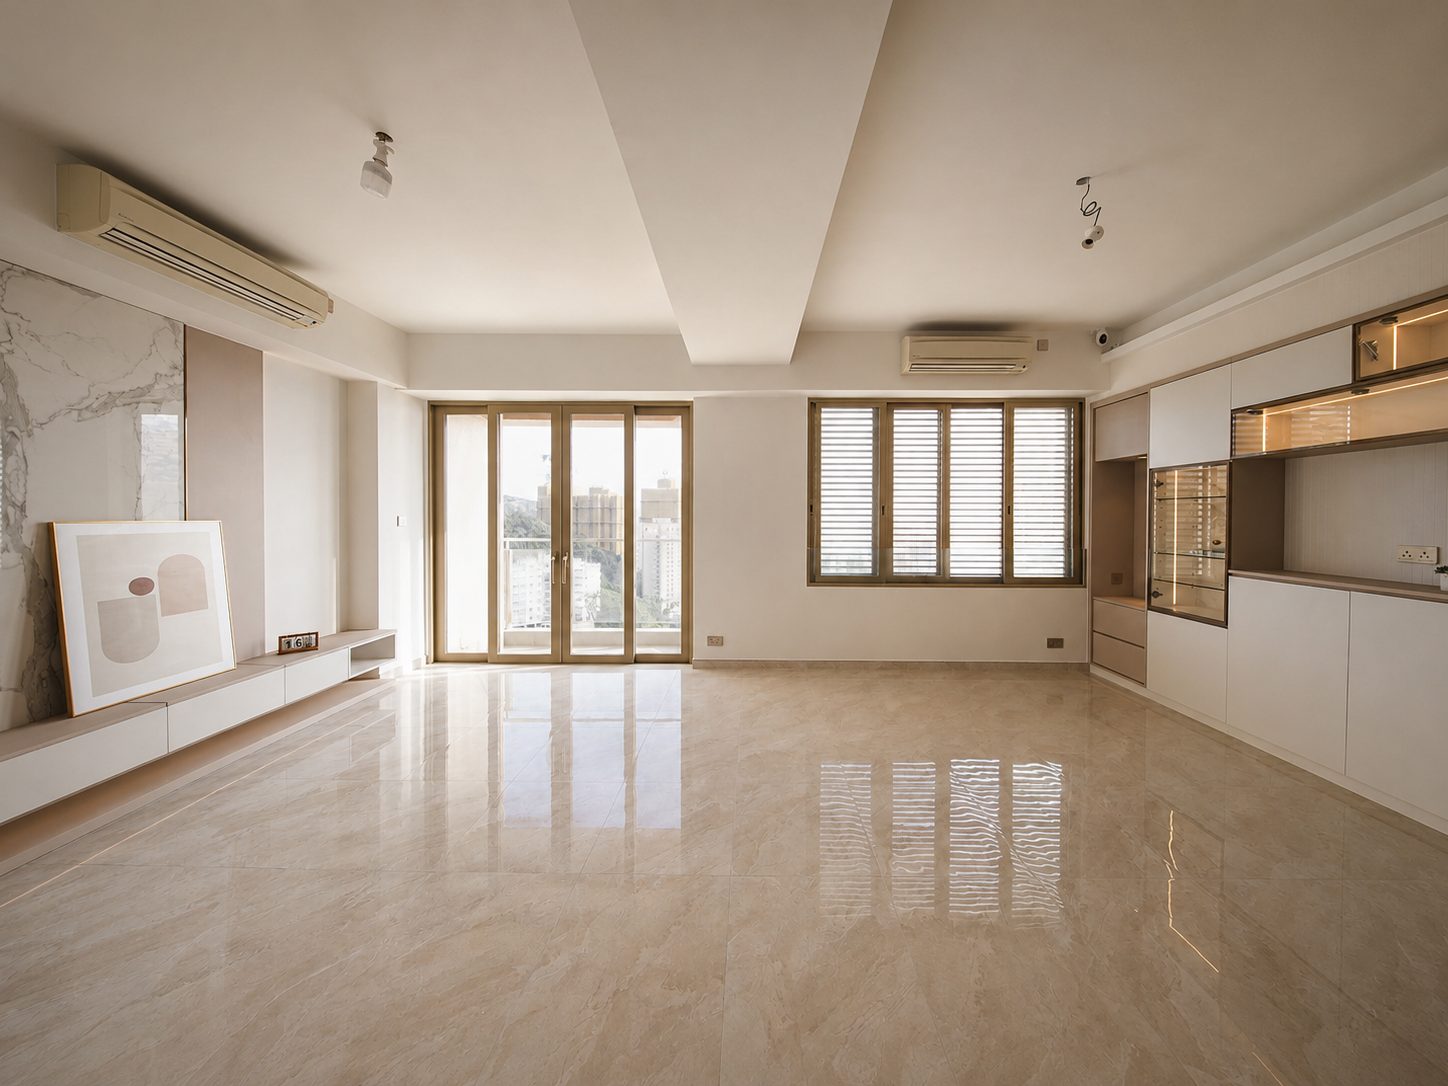
One wall, five layers
The table below runs from the innermost structural layer (01) out to the finish layer (05), which is the actual order of site works; demolition goes the other way, starting from the finish you can see and working inwards layer by layer. Select any layer and it will be marked on the diagram.
-
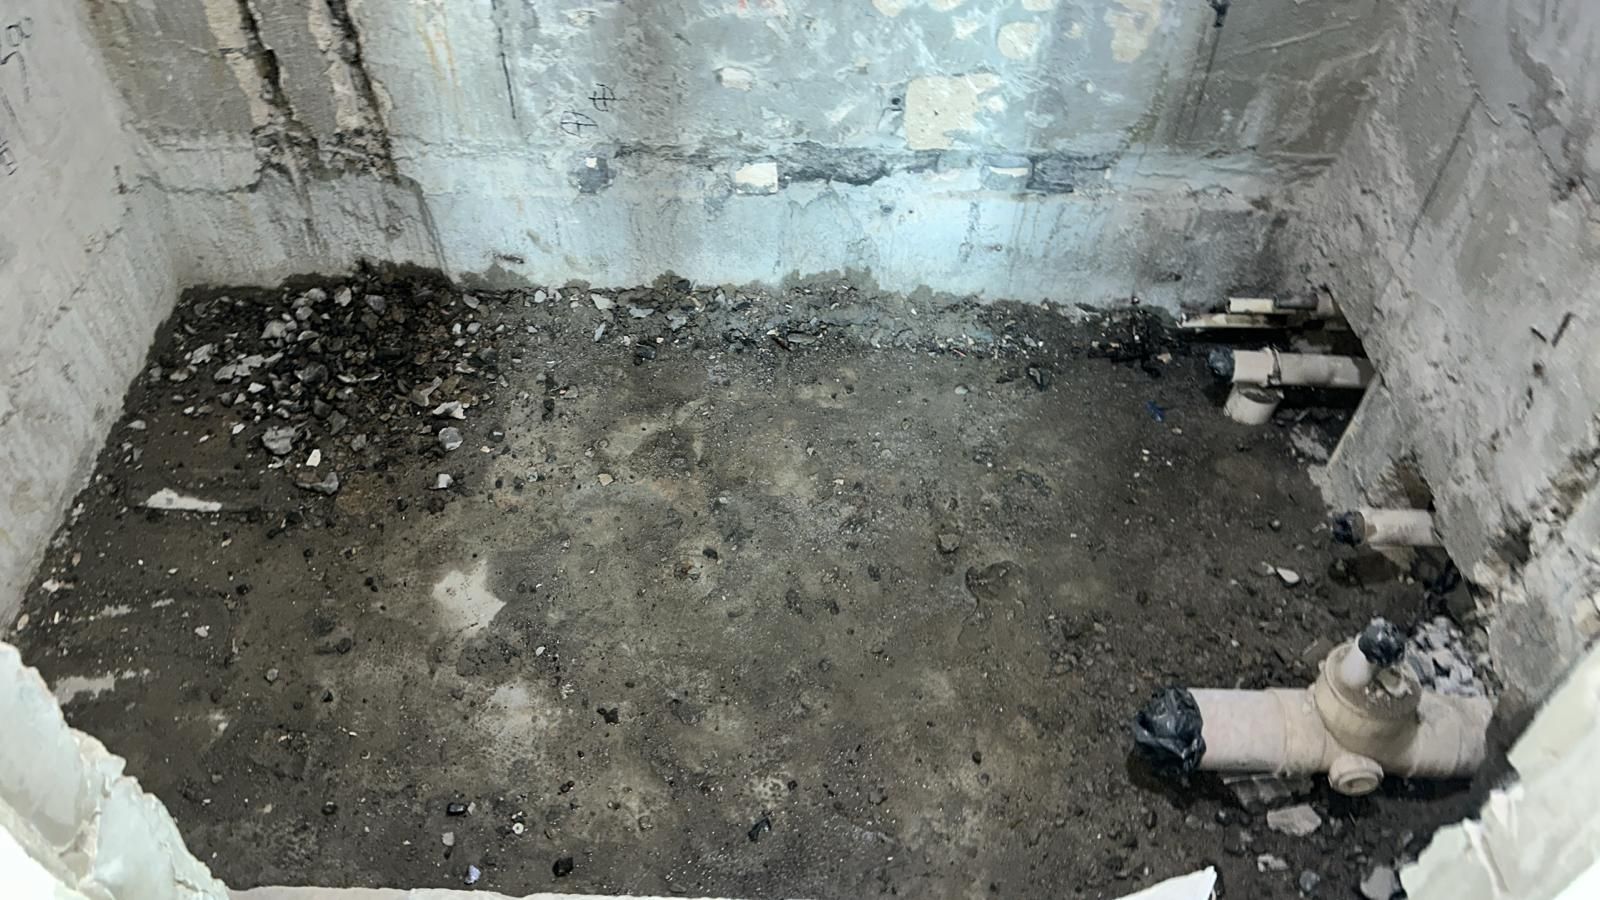
After demolition, the structure and the old drainage pipes are exposed 14days
Notification before works start · Class 1 and 2 minor works
3classes
No prior notification required
Correct method
Structural walls and beams are left untouched. After demolition we check on site for seepage, exposed wiring and rebar corrosion, record it in photos and discuss repairs with the client.
Wrong method
Altering a structural wall or beam without approval carries criminal liability; unreported minor works surface later, when the title deeds are checked on resale.
Reference: Buildings Department Minor Works Control System
-
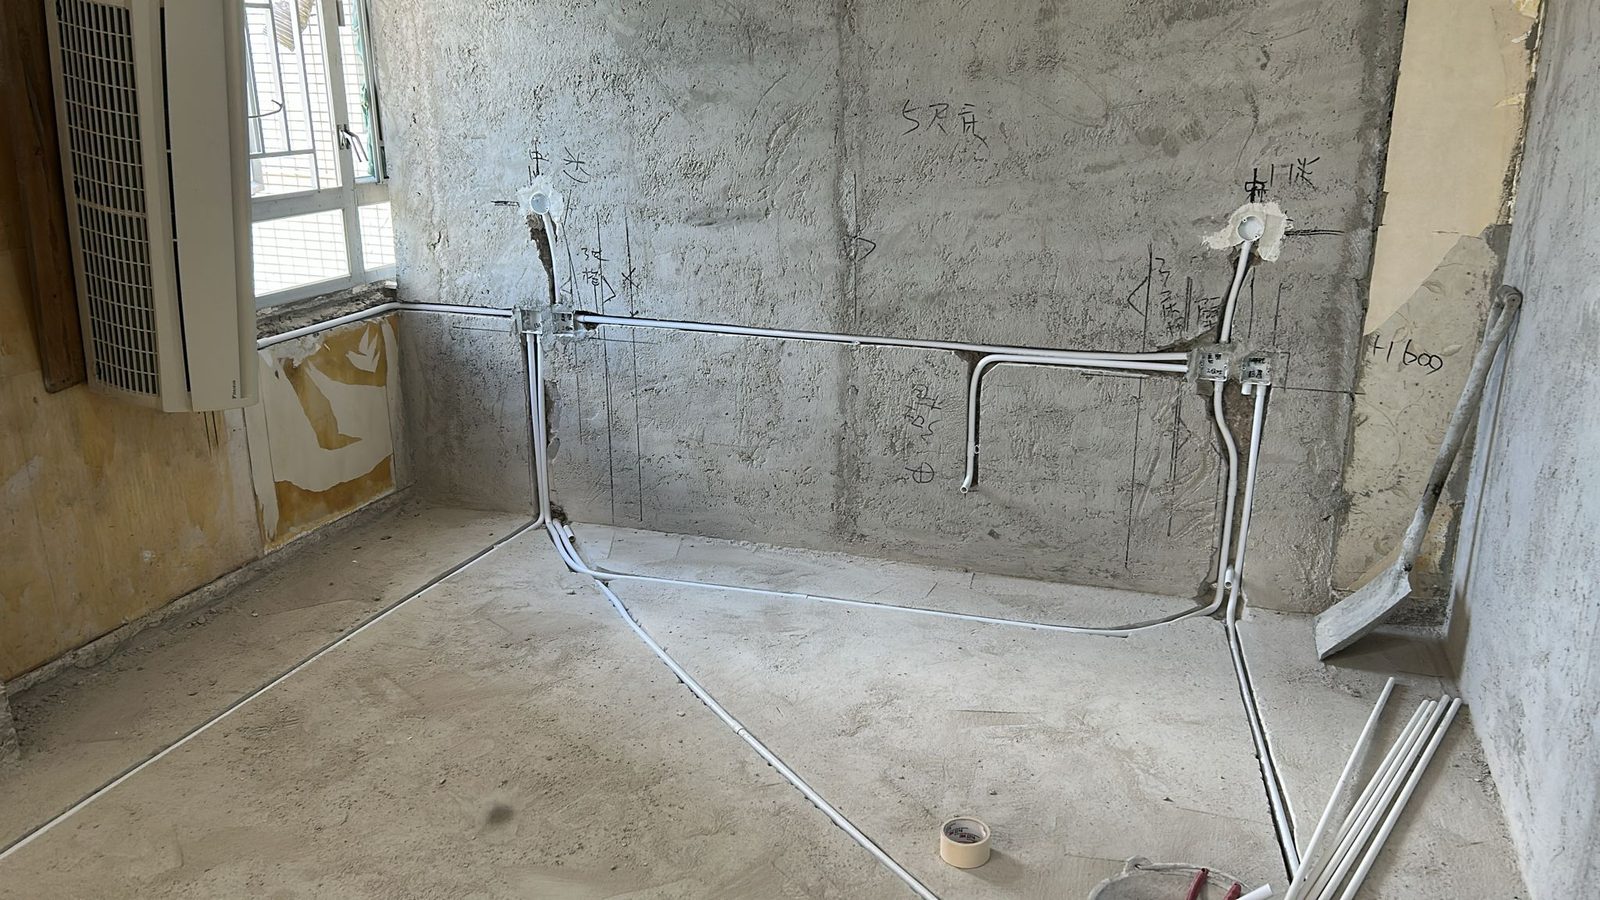
Conduits run vertically and horizontally along the wall 1:100
Minimum fall to drain
150psi
Pressure test · or 1.5 times building pressure
1hours
Pressure hold time
Correct method
Conduits are run vertically or horizontally only; all new points are run in new cable; new water pipes throughout are replaced in full from the first stop valve, with no old pipe reused.
Wrong method
Pipes laid on the diagonal get hit the first time someone drills into the wall; close the wall up without a pressure test and the tiles have to come off to find the leak.
Reference: Water Supplies Department“Technical Requirements for Plumbing Works in Buildings”(October 2019 edition), EMSD Code of Practice for the Electricity (Wiring) Regulations (2015 edition)
-
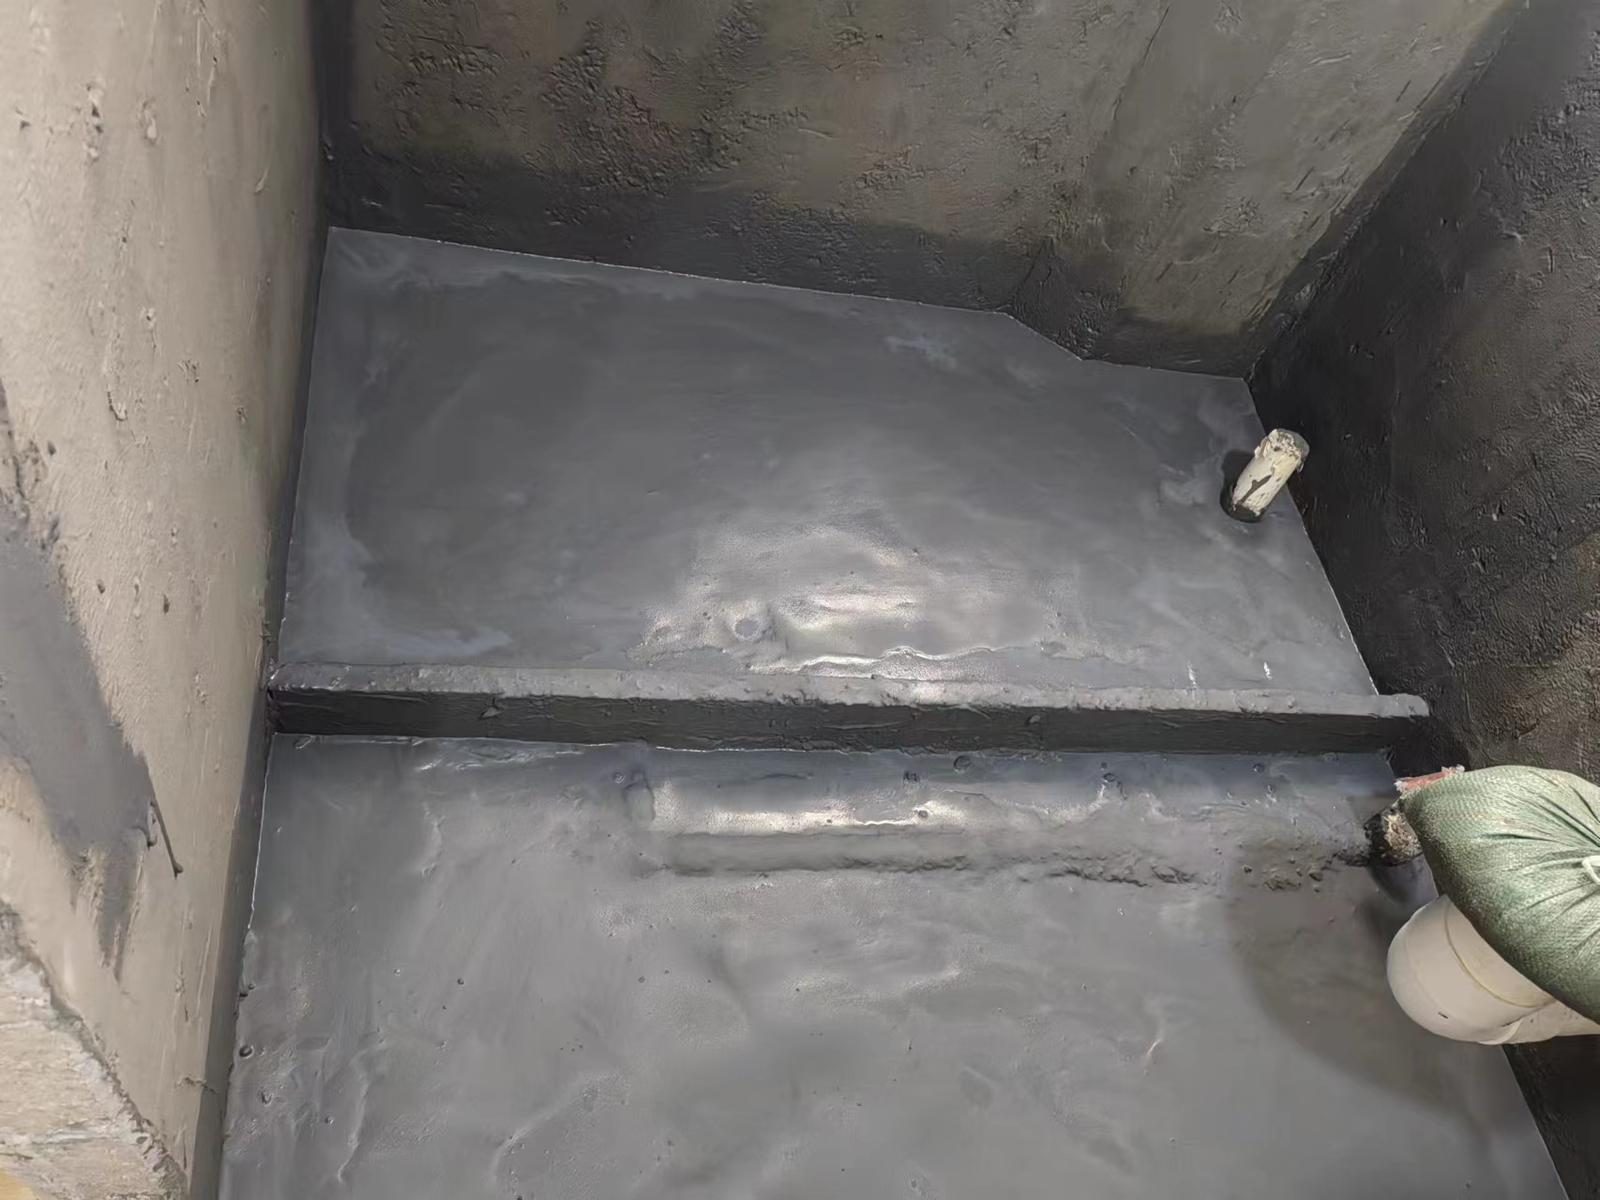
Plastering to bring the wall true 1m
Mid-height datum line
2layers
Plaster first, then tile
Correct method
Before tiling or painting, the walls are plastered true and the floors levelled, and a datum line 1 metre above the finished floor is re-established for the furniture re-measurement. Bathroom and kitchen floors are laid to falls, then waterproofed, before tiling.
Wrong method
Tile over walls that were never trued up and floors that were never levelled, and fitted furniture will always leave a gap at the wall; leave the falls to be corrected after tiling and it is already too late.
Reference: AS 3958.1:2007
-
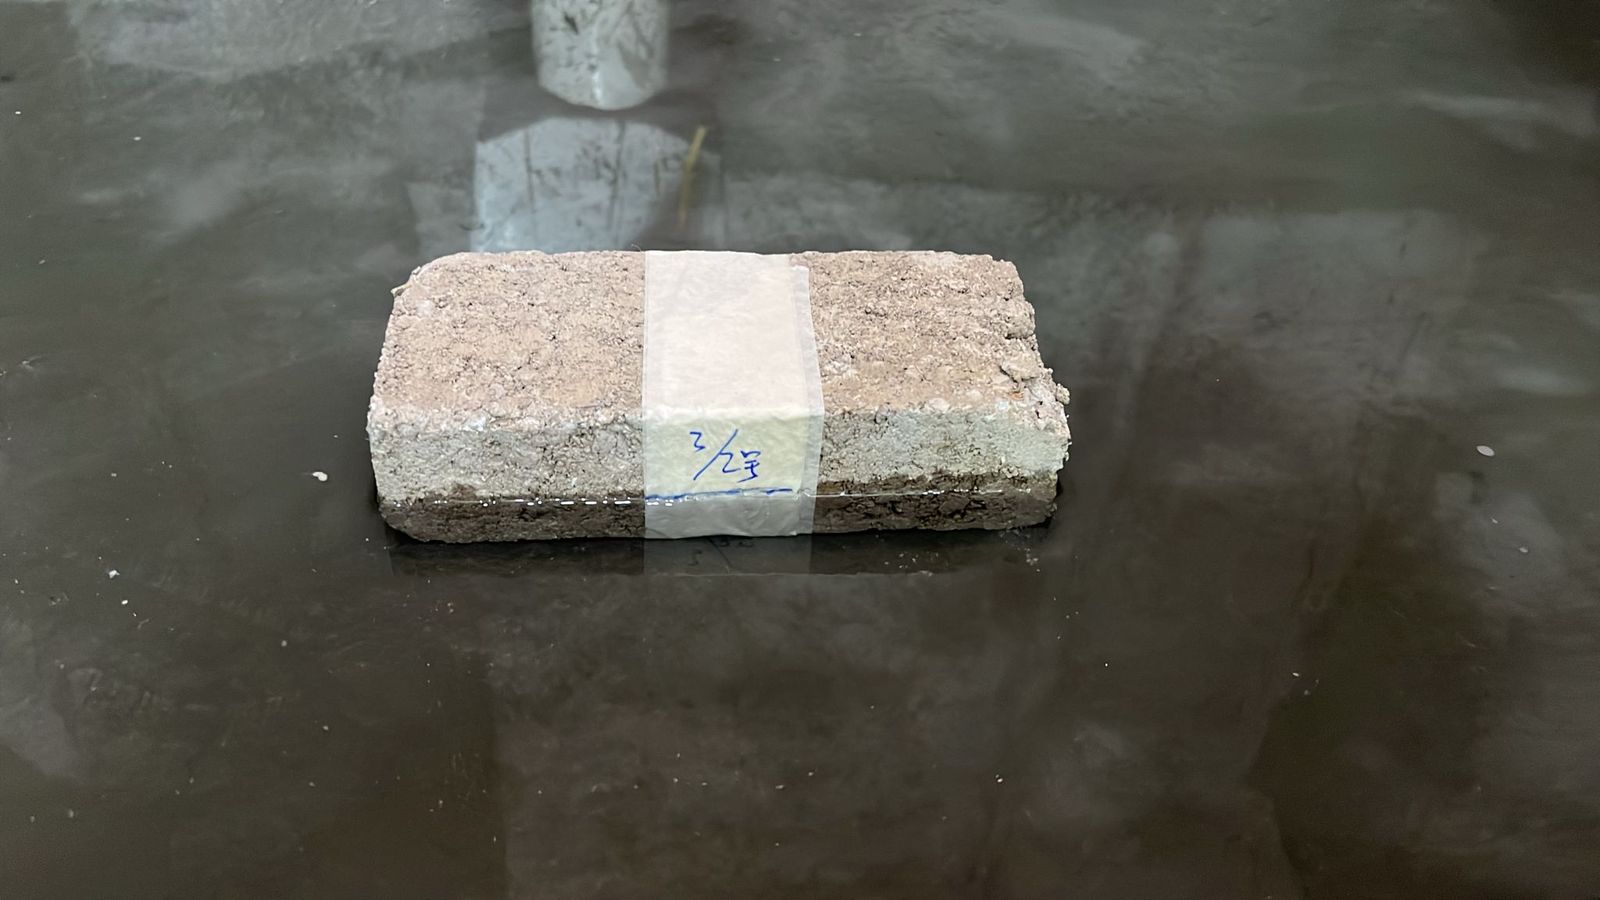
Ponding test: a tile marks the water level 2200mm
Waterproofing height at the shower
1100mm
Waterproofing height at the basin
300mm
Waterproofing height elsewhere
8hours
Flood test duration
Correct method
The surface is levelled and cleaned first, then waterproofing mortar or membrane is applied in at least two coats; the second coat goes on only once the first is fully dry.
Wrong method
If the waterproofing is not taken high enough, or the perimeter is missed, shower water tracks along the tile joints to the foot of the wall in the next room; tile over waterproofing that was never flood-tested and the whole lot has to come off and be redone.
Reference: Buildings Department“Guidelines on Prevention of Water Seepage in New Buildings”
-
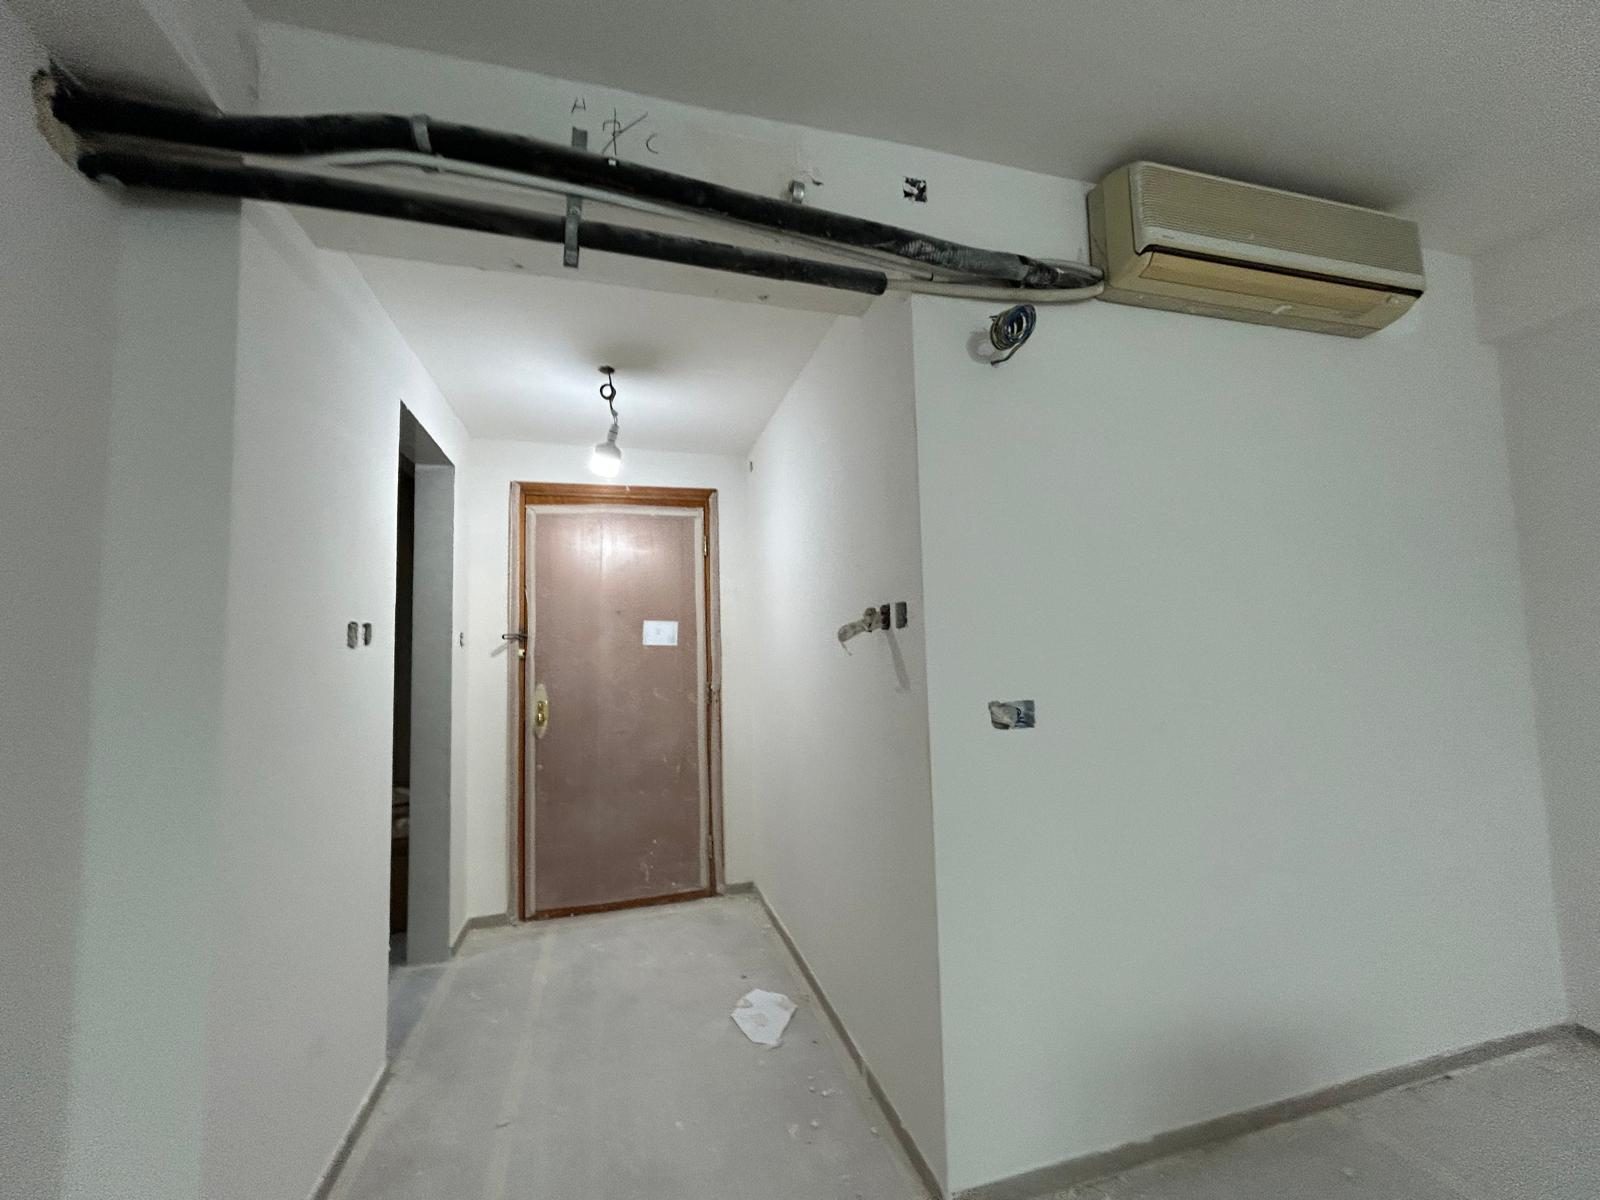
The interior once the finishes are complete ≤1mm
Tile lippage
≥1.5mm
Movement joints
≤20%
Hollowness per tile
Correct method
Tiles are laid to the tile setting-out drawing, with external corners and skirtings mitred throughout; before painting, surfaces are scraped back to remove all old paint and skim coat that hand tools can take off.
Wrong method
With no movement joints in the tile joints, the tiles tent as they expand and contract; hollow tiles laid without being dealt with crack underfoot later.
Reference: Architectural Services Department General Specification for Building (2007), BS 5385 Part 1, BS 6150:2019